1 Create a requirement session
-
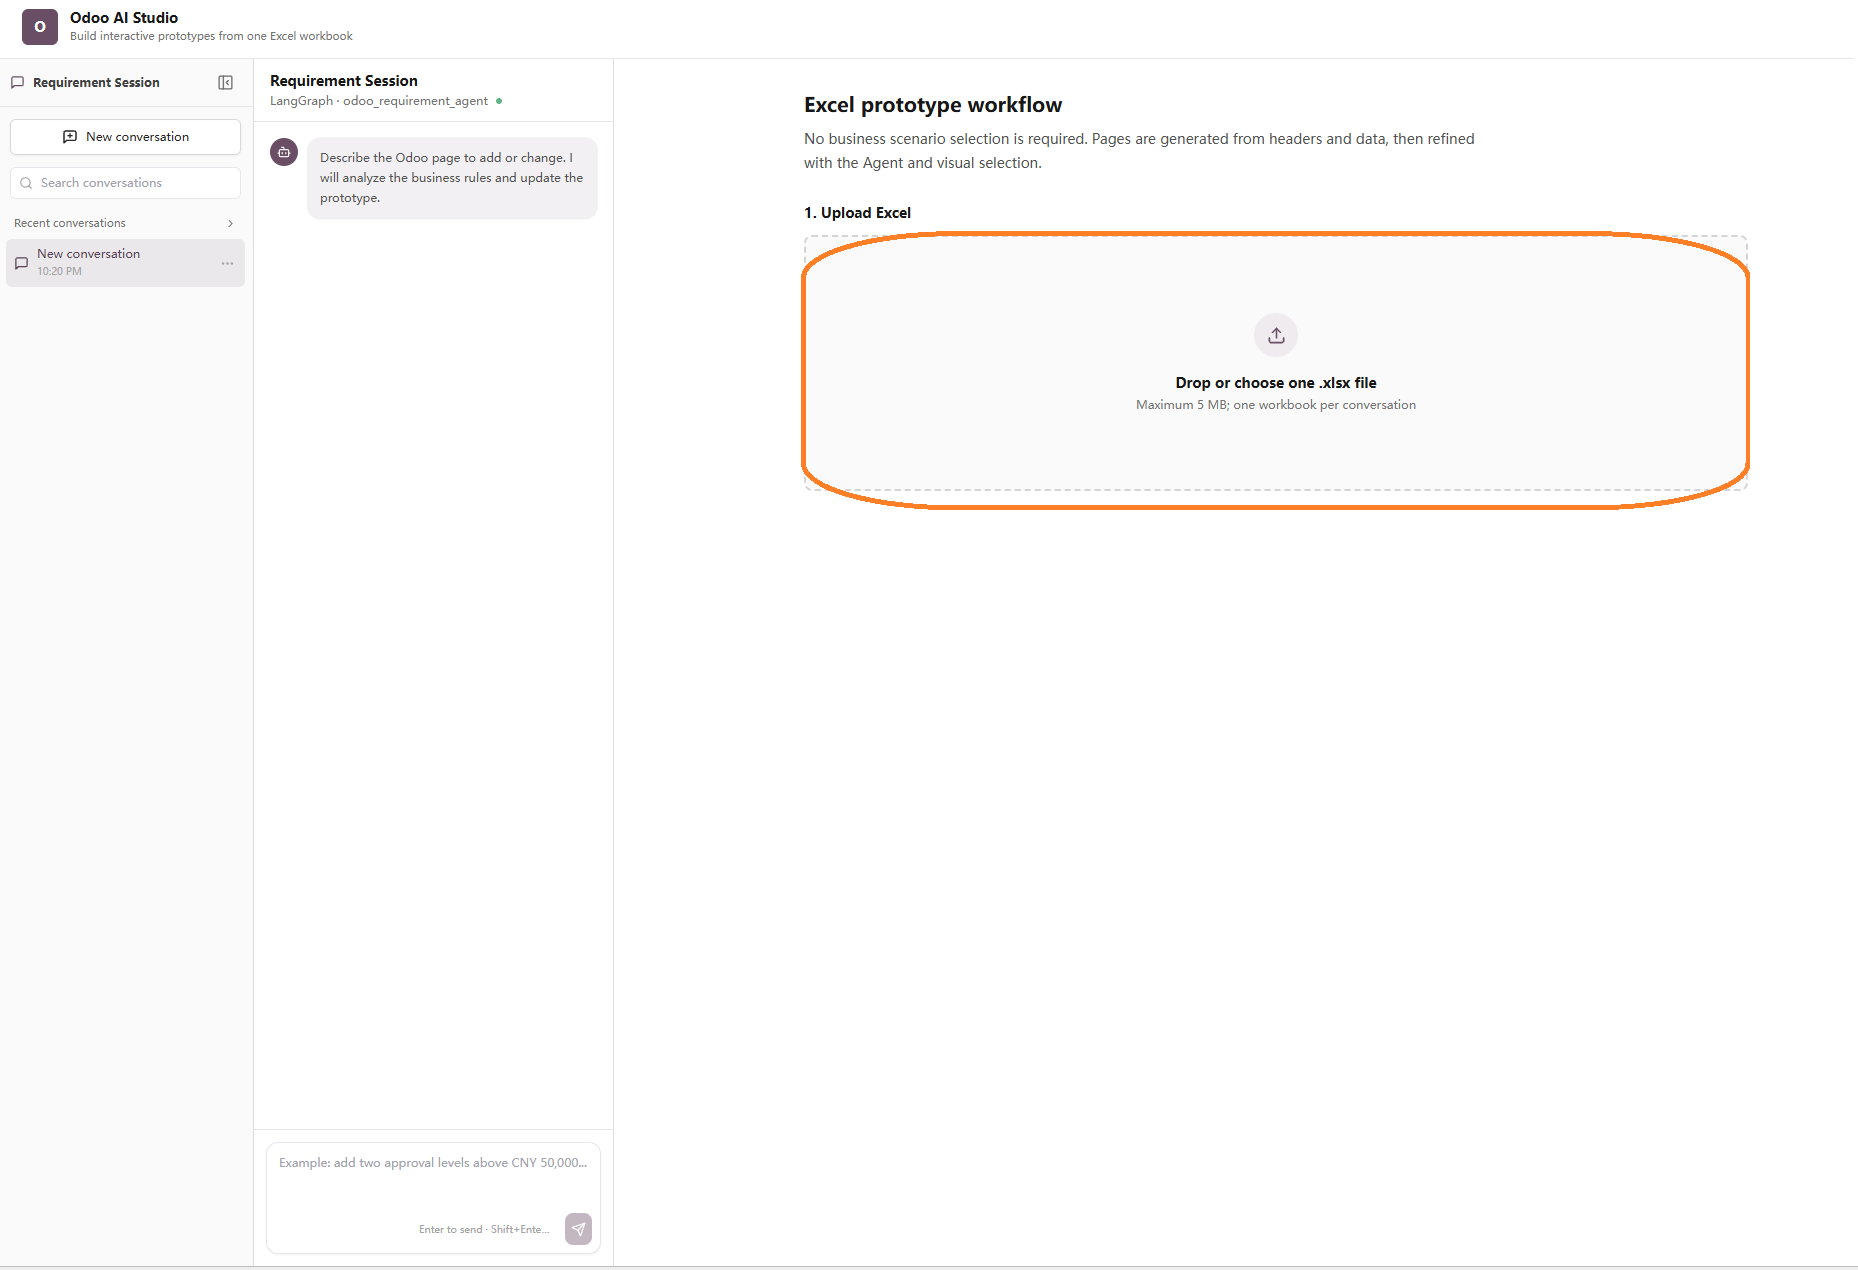
Click New conversation in the Requirement Session panel.
-
Upload the Excel workbook through the import button.
- Review field labels, data types, sample values, tabs, table columns, and relationships before requesting cosmetic changes.
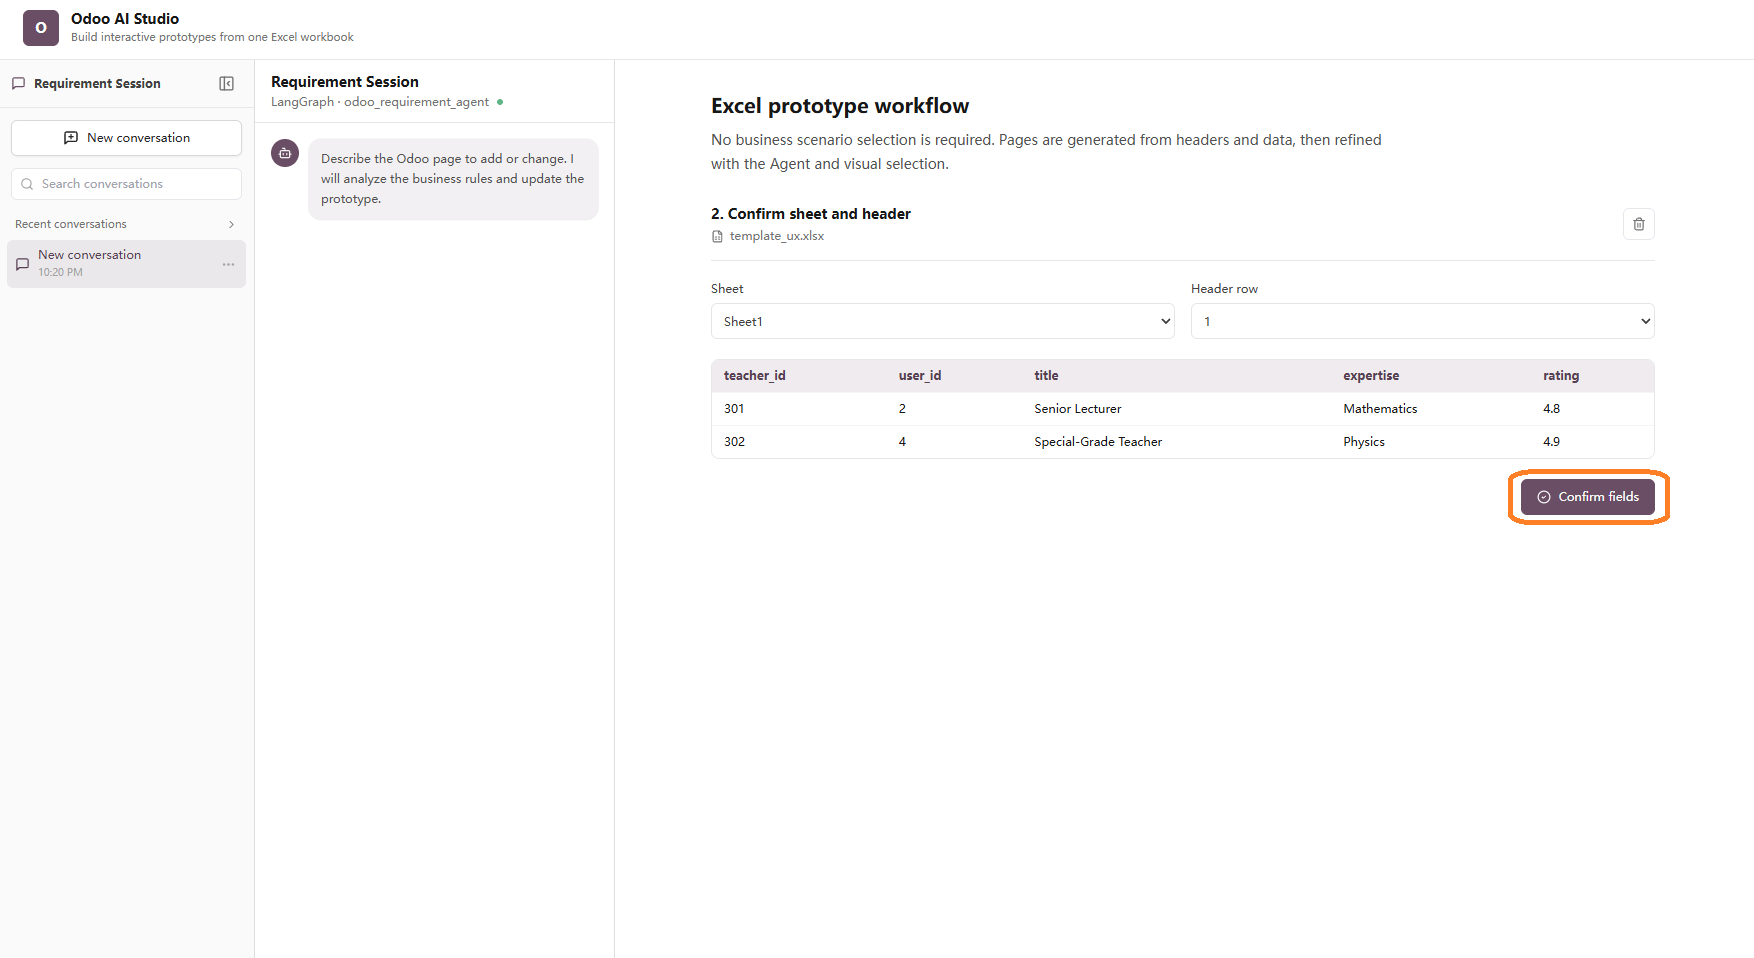
2 Populate a prototype
- Select Odoo view type.
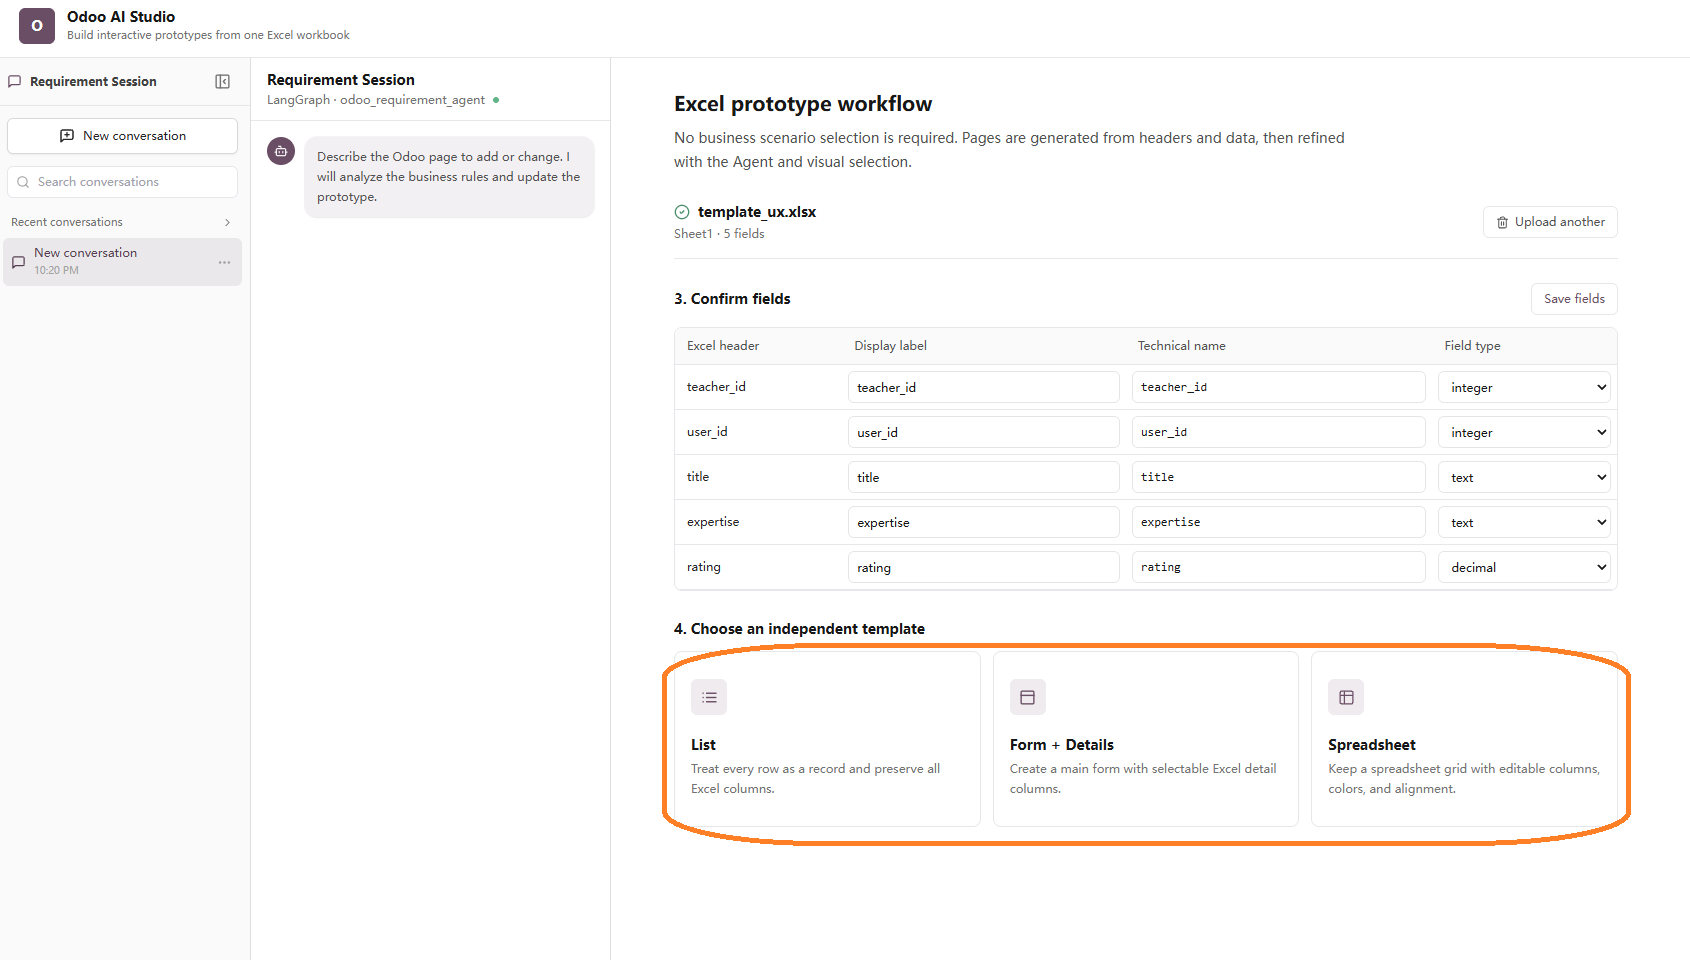
Recommended sequence: Validate the data model first, then adjust layout and appearance. A polished layout built on an incorrect field structure usually creates avoidable rework.
3 Refine the page through chat
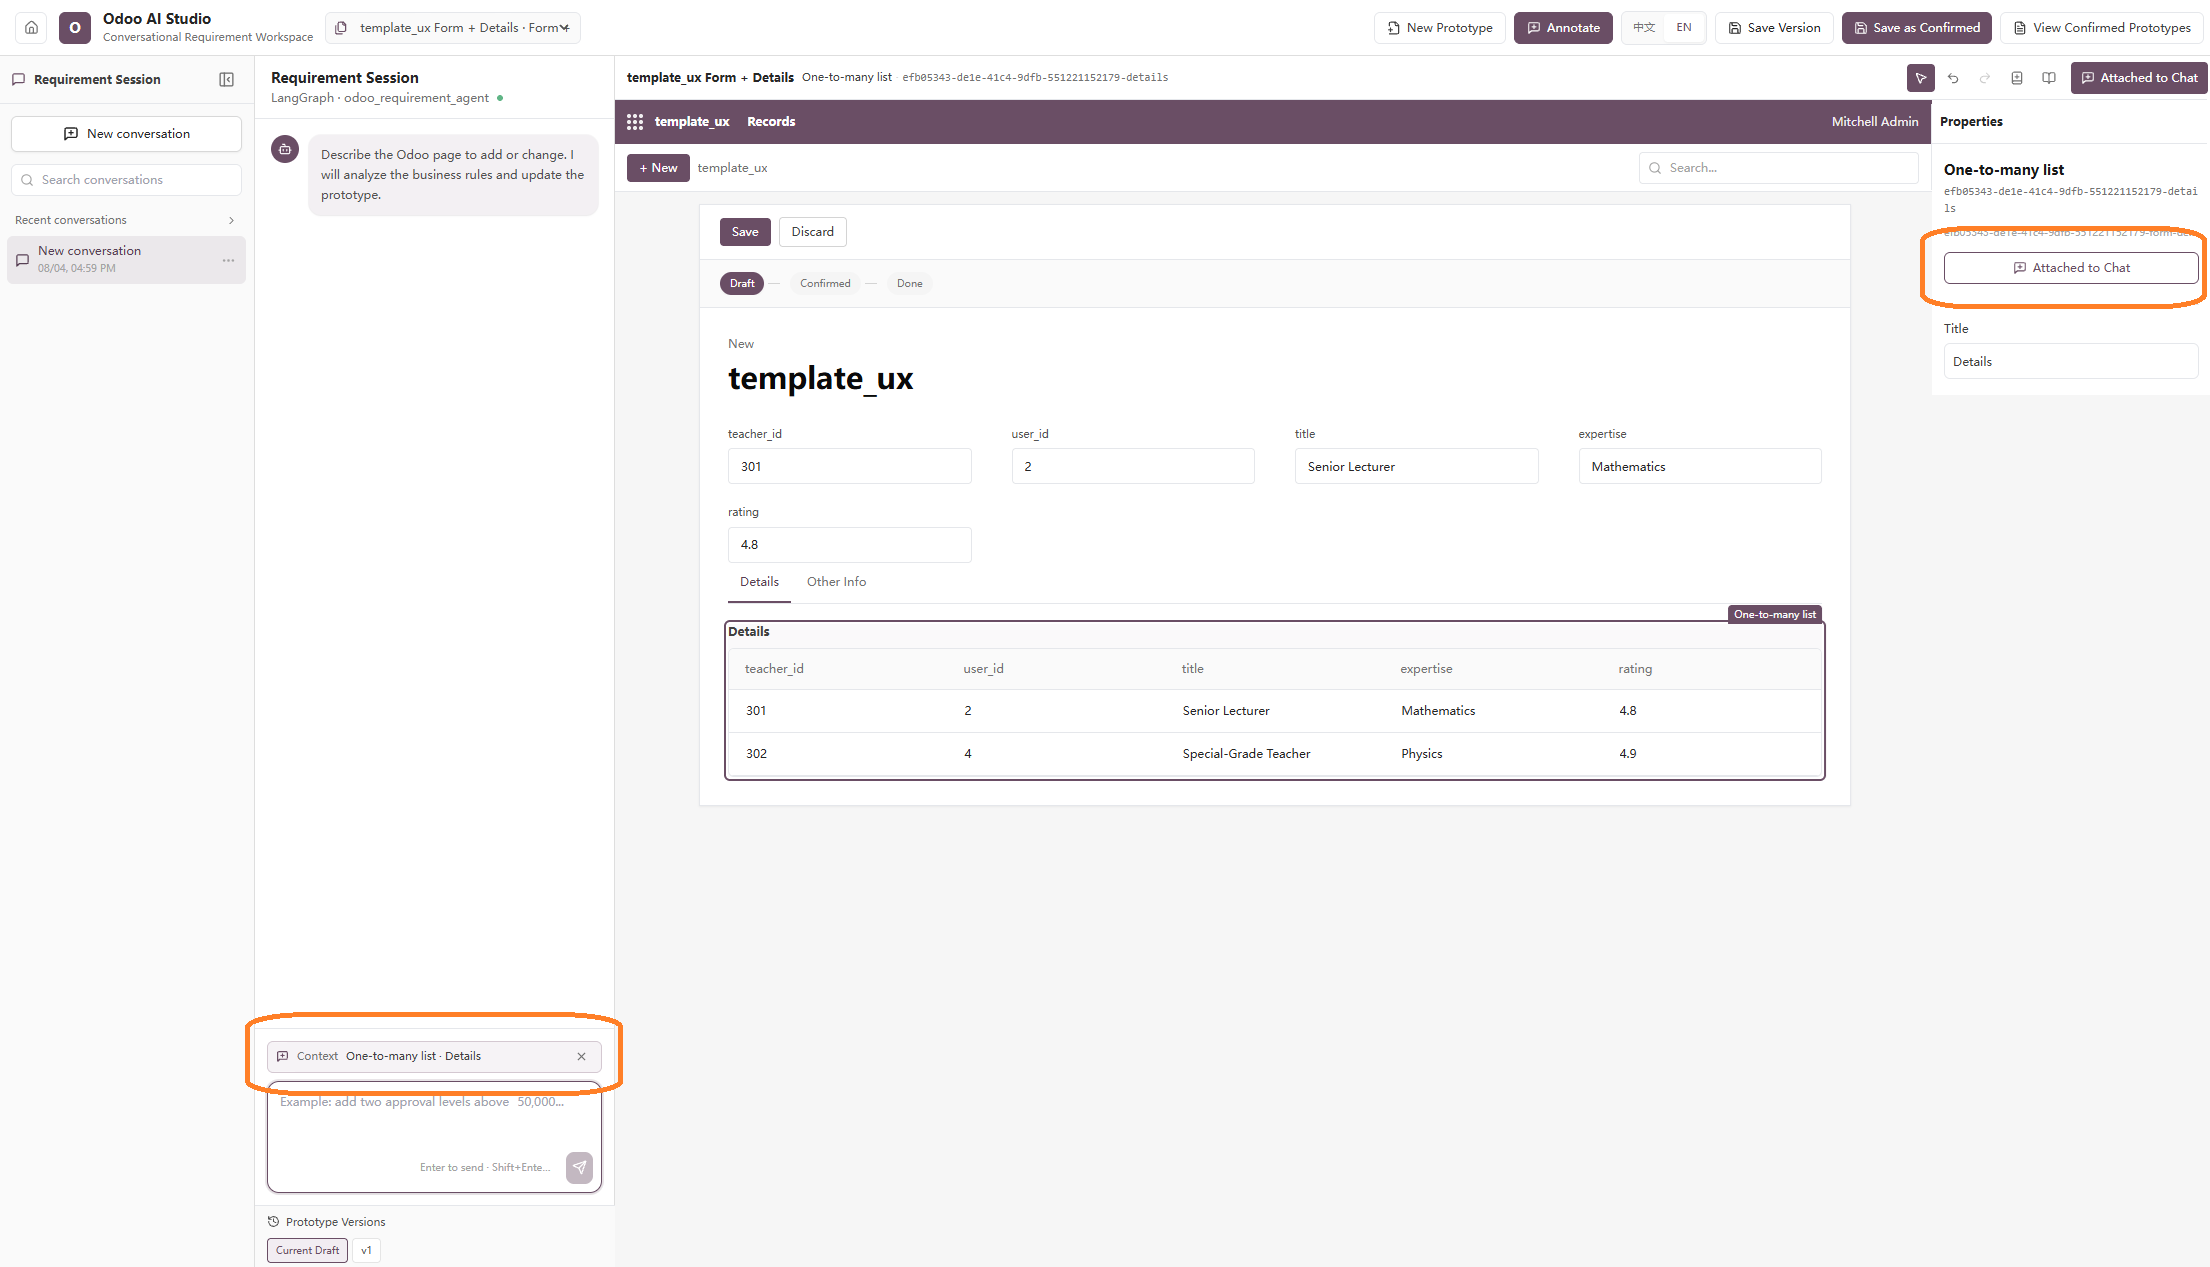
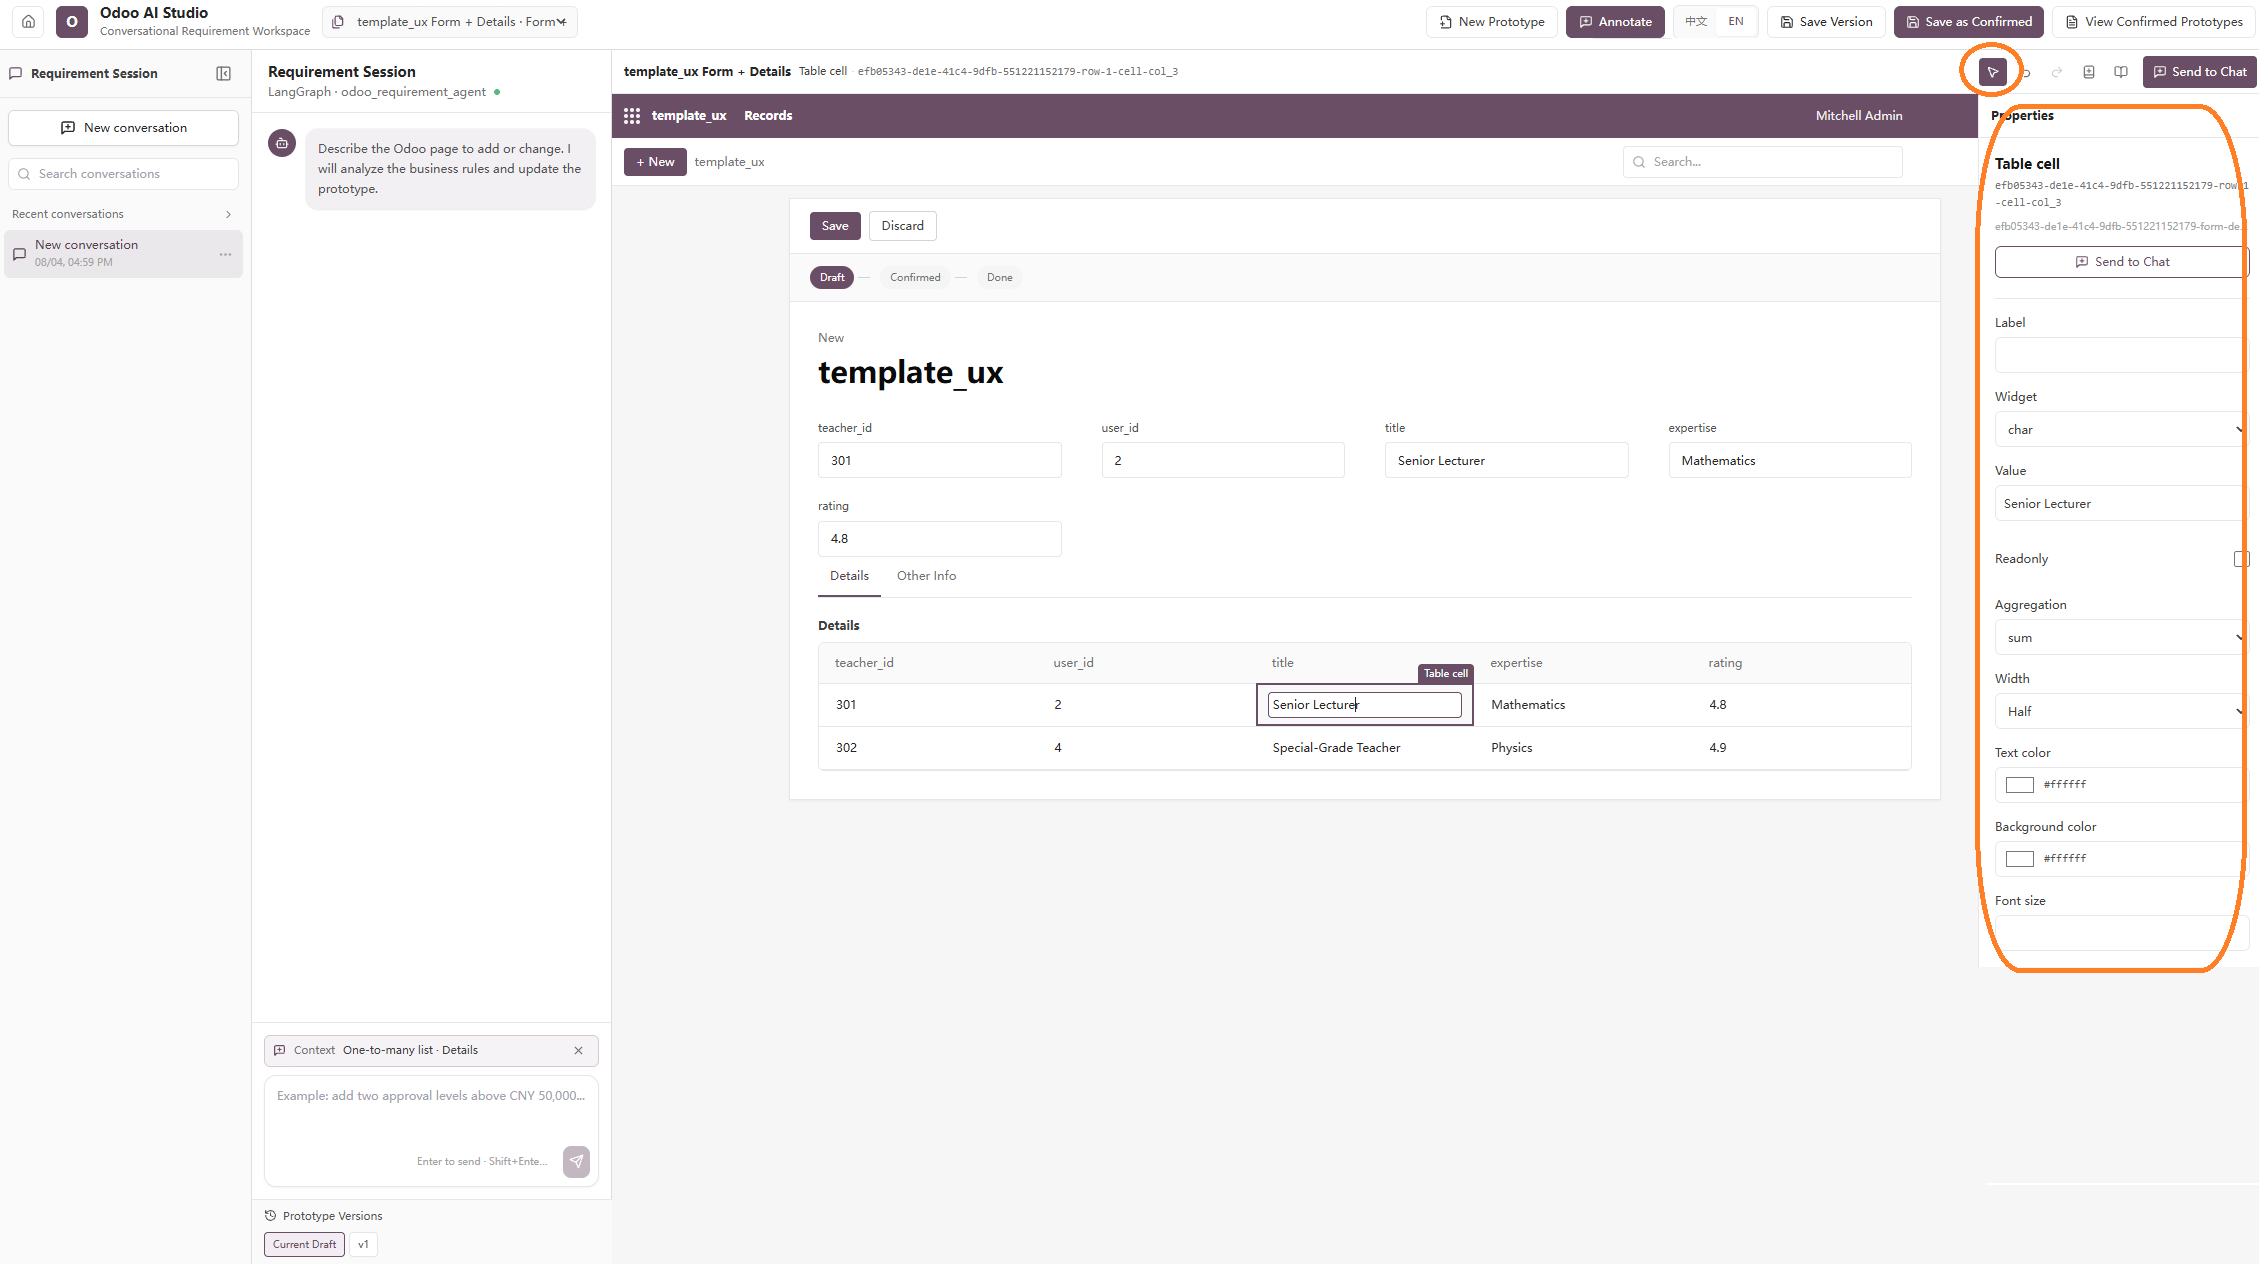
- Describe one change or one logically related group of changes in the chat box. (To avoid ambiguous, please select the specific block and send it to chat)
-
Send the message and wait for the prototype to refresh.
-
Check the result on the canvas. Refer to the exact field, tab, button, model, or table when requesting corrections.
-
Continue iteratively until the page structure and behavior match the business expectation.
-
At the same time, you can also modify the field manually through the configuration panel.
4 Add visual requirements
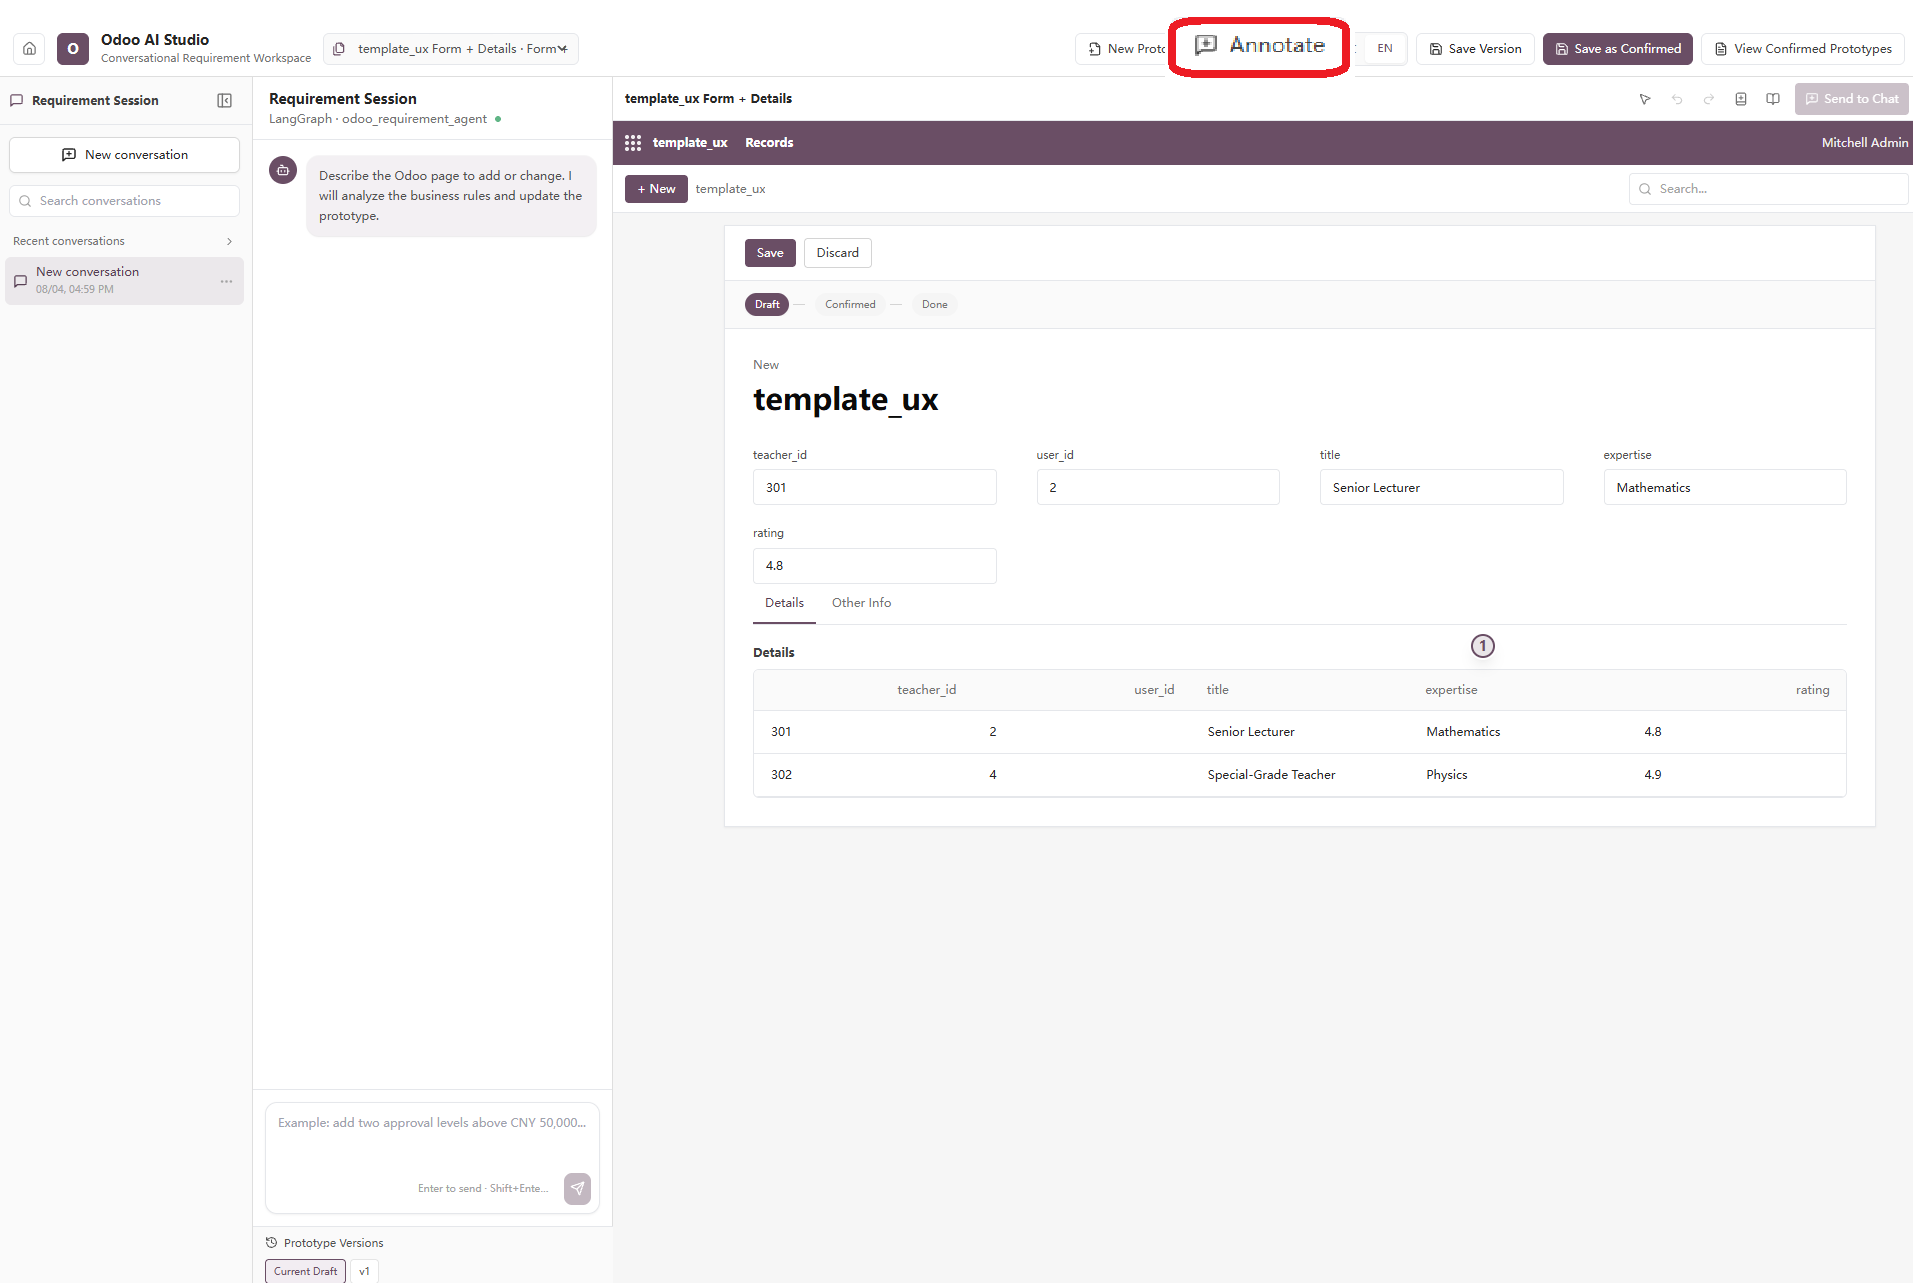
- Click Annotate to enter annotation mode.
-
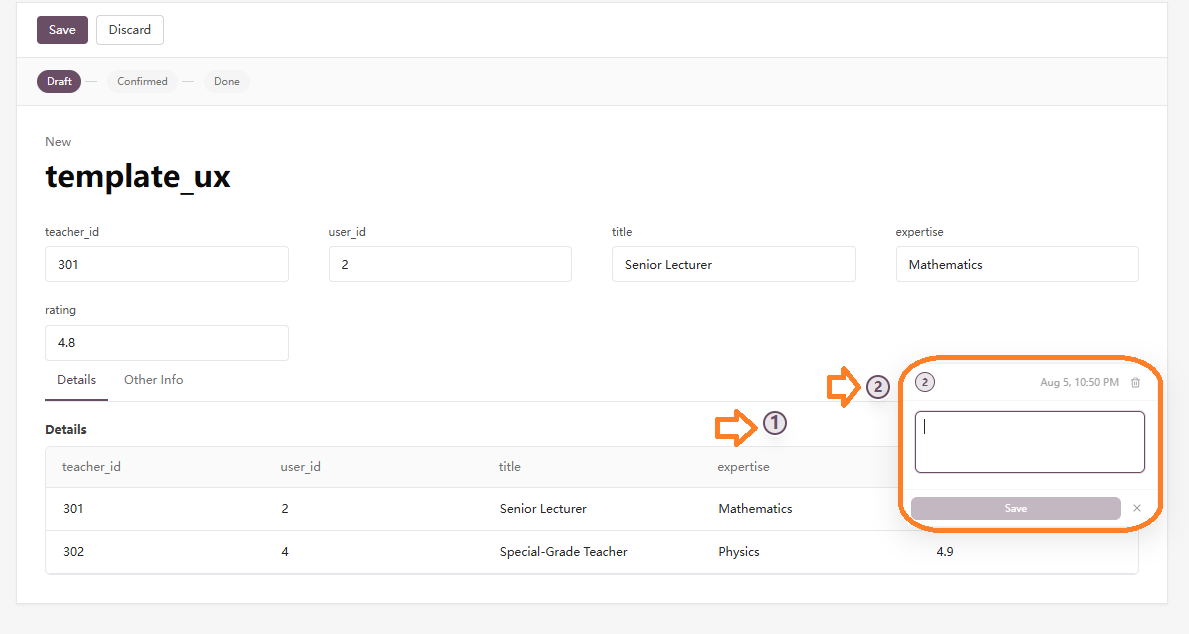
Click the exact interface element or location related to the requirement.
-
Enter the requirement in the annotation card and click Save.
- Repeat for every requirement that would be ambiguous in text alone.
5 Generate and approve the specification
- Review all chat messages and annotations for contradictions or duplicate requests.
-
Use Send to Chat or the specification-generation command available in your deployment.
-
Review the generated functional and technical requirements with the business owner and developer.
-
Click Save Version to preserve the reviewed iteration.
-
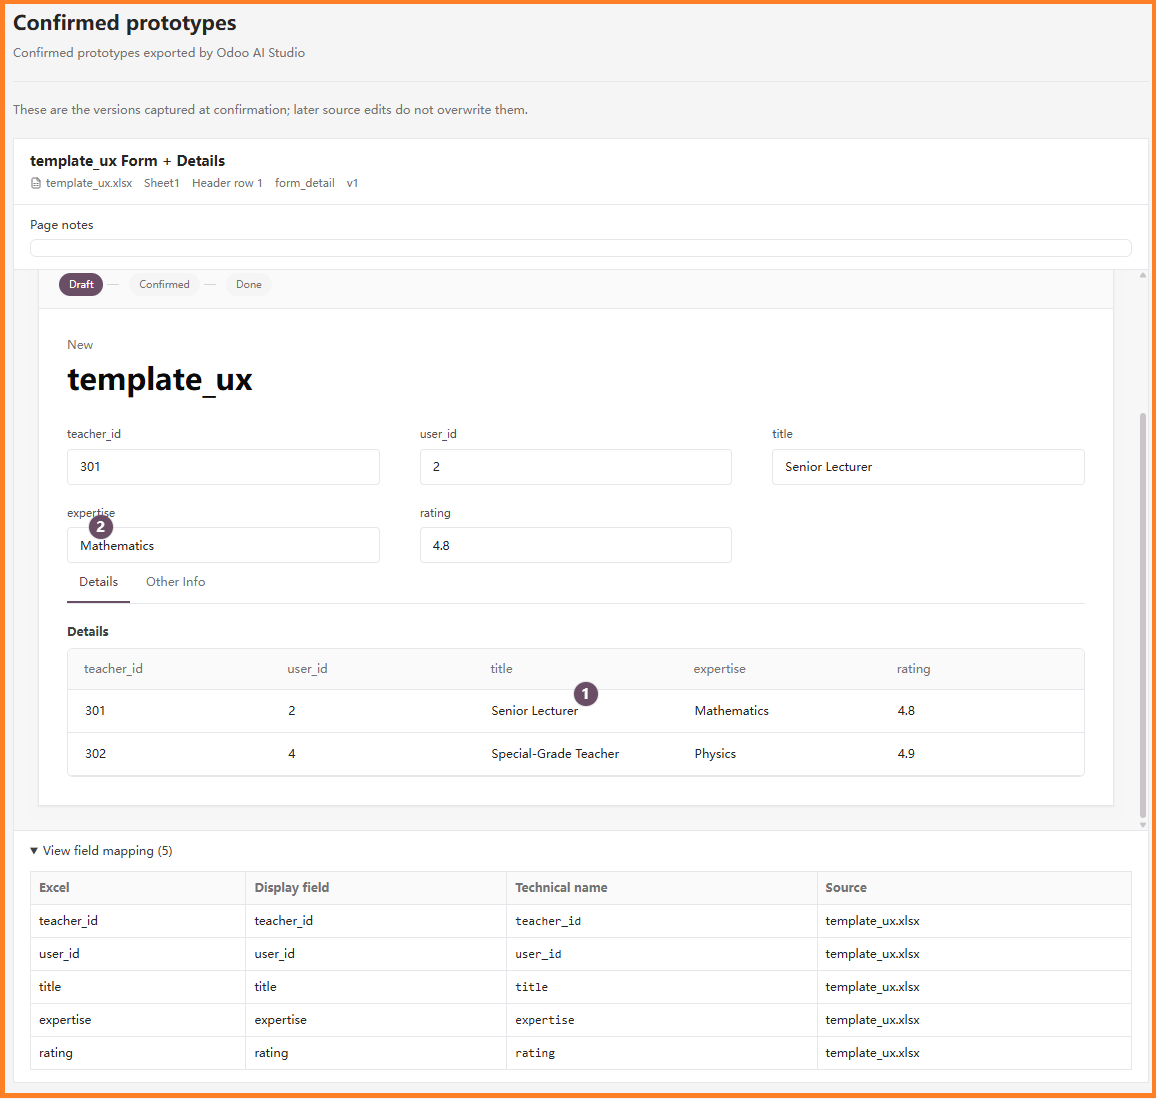
Click Save as Confirmed only after stakeholders agree that the prototype and specification represent the intended customization.